Saturday, September 22, 2012

Famous Pumpkin Doughnuts!

I saw these pumpkin doughnuts on Pinterest on the website http://www.kingarthurflour.com/. I thought these would be excellent for the girls to be involved in making. We made them and I gave my girls one to try. They were a hit. I took them to an event this weekend and the container was brought home empty, if that says anything. I would definitely give these a try. Super simple and very "Fallish." Have a tasty week.

Pumpkin Doughnuts

Ingredients:

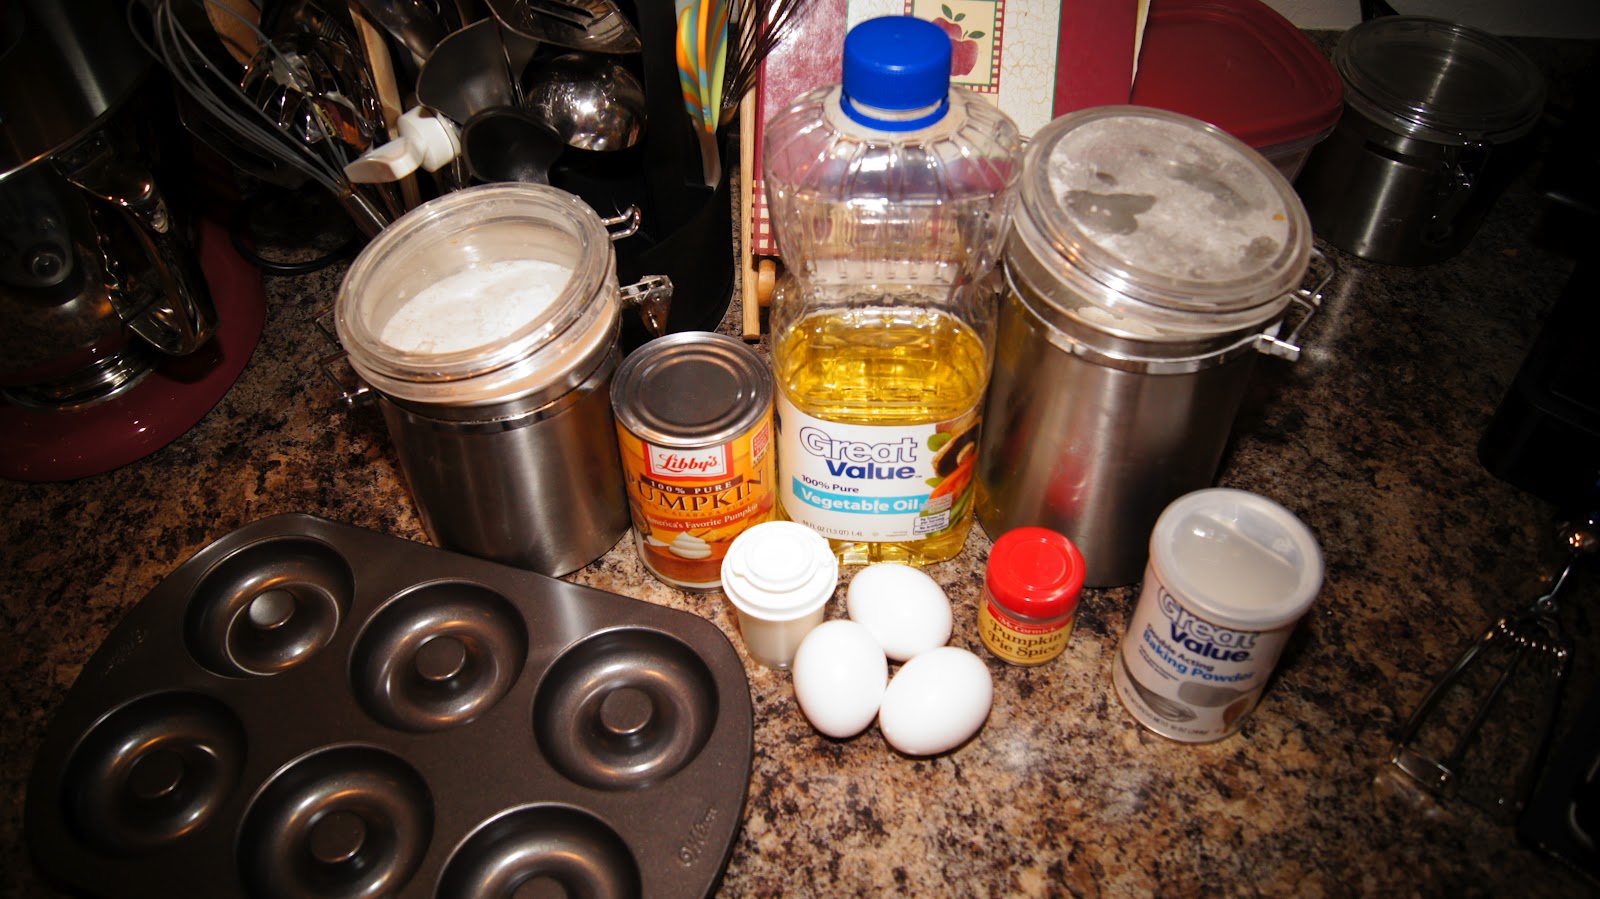
1/2 cup vegetable oil
3 large eggs
1 1/2 cups granulated sugar
1 1/2 cups pumpkin purée (canned pumpkin)
1 1/2 teaspoons pumpkin pie spice, or 3/4 teaspoon ground cinnamon plus a heaping 1/4 teaspoon each ground nutmeg and ground ginger
1 1/2 teaspoons salt
1 1/2 teaspoons baking powder

Method:


1) Place ingredients in a mixing bowl.
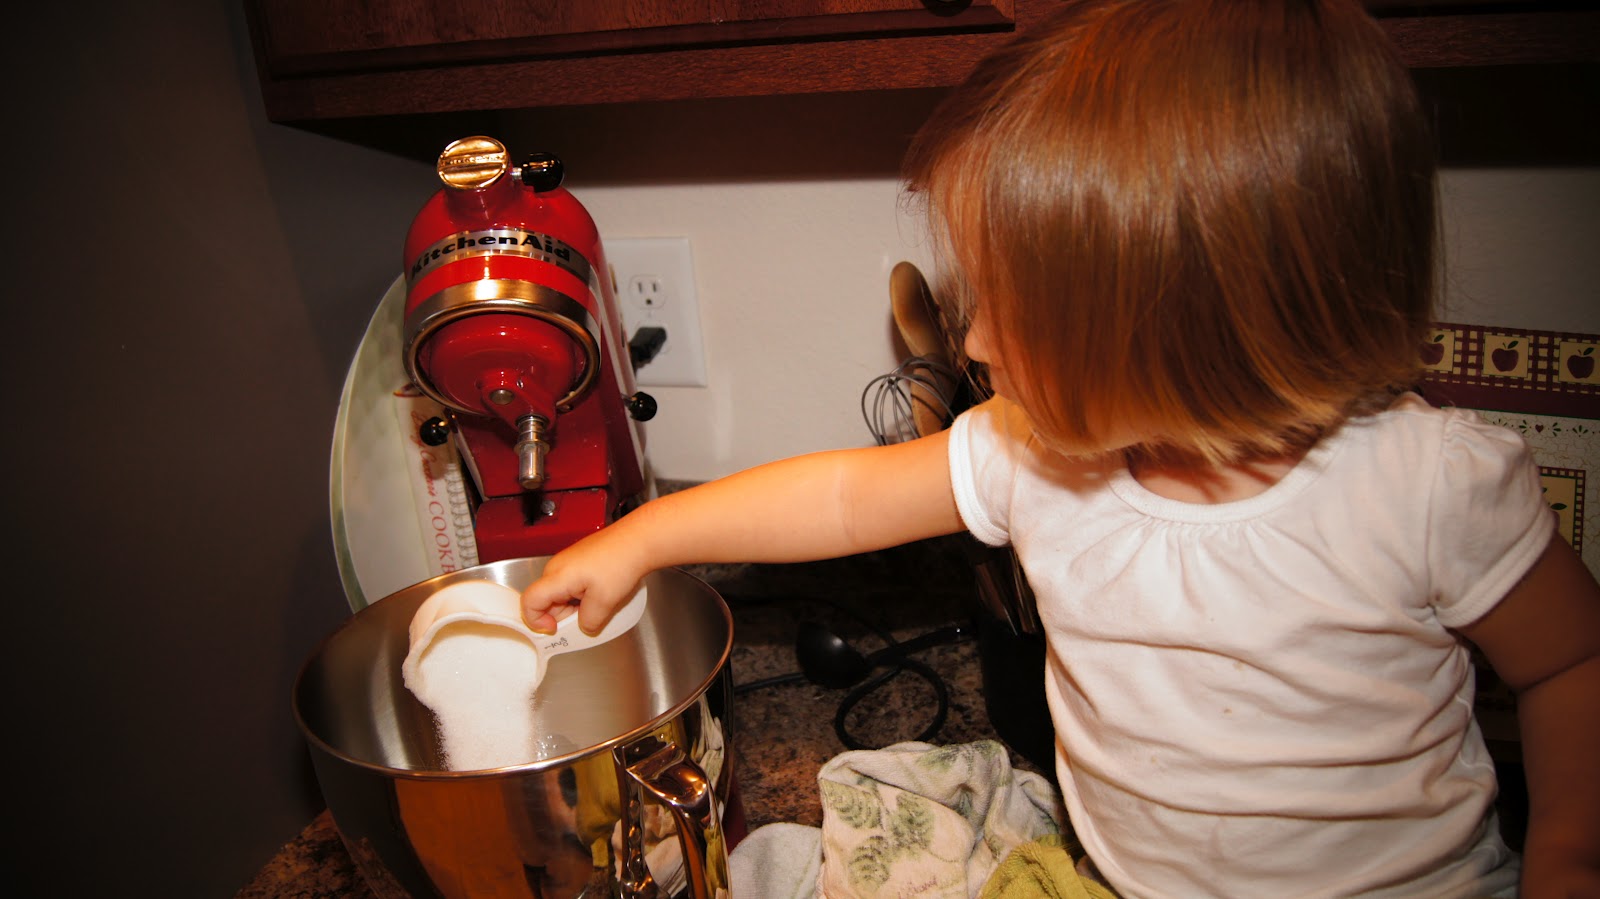
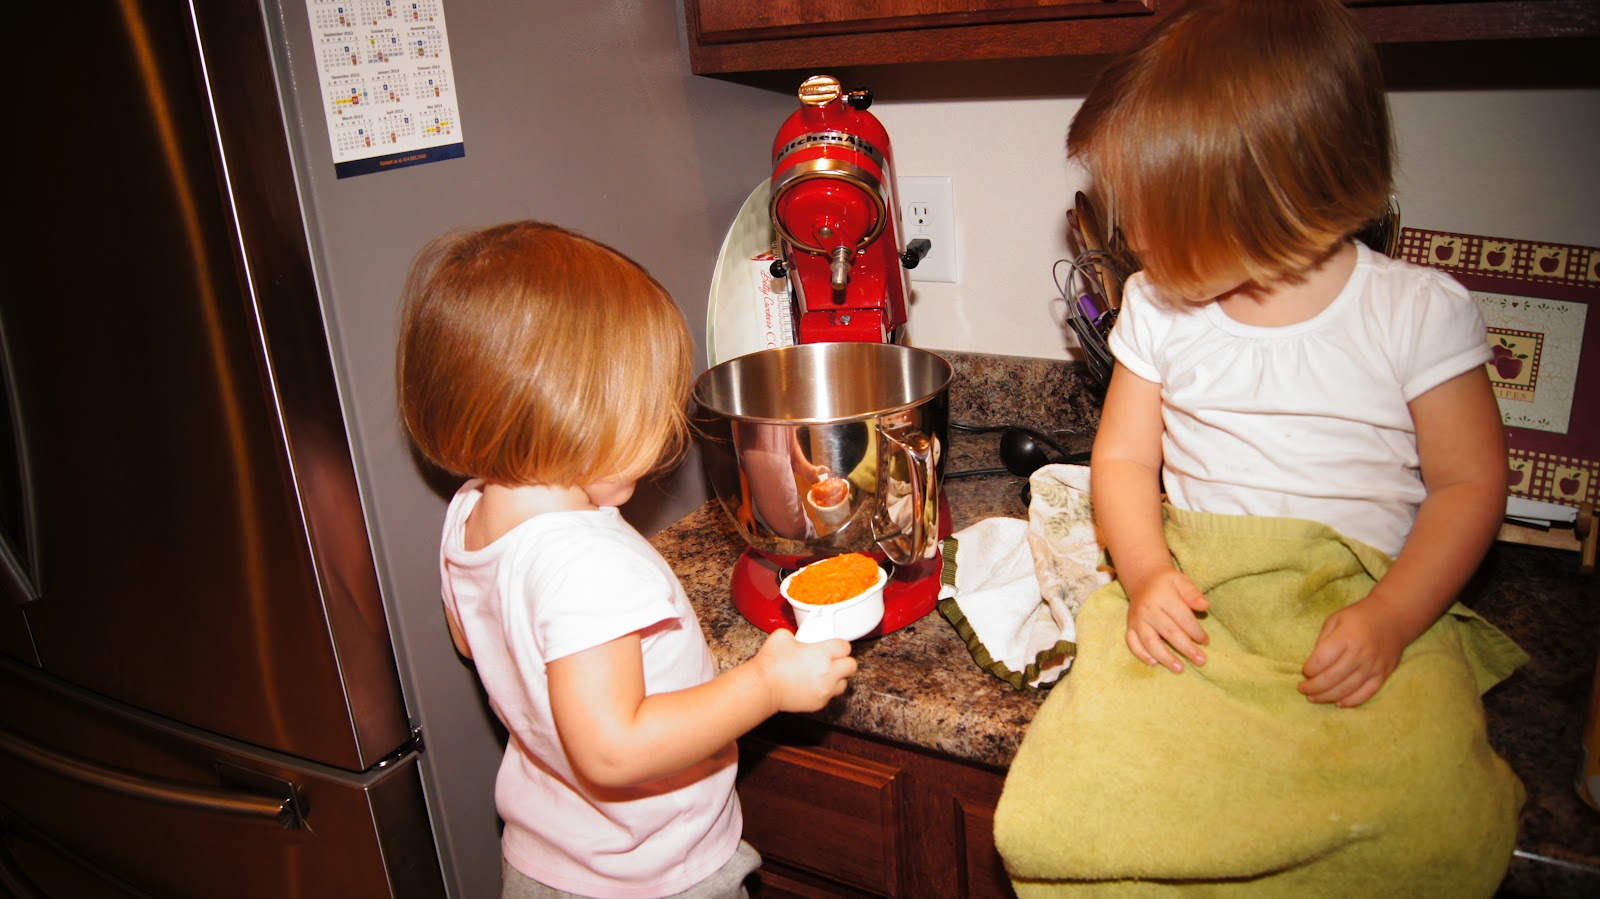
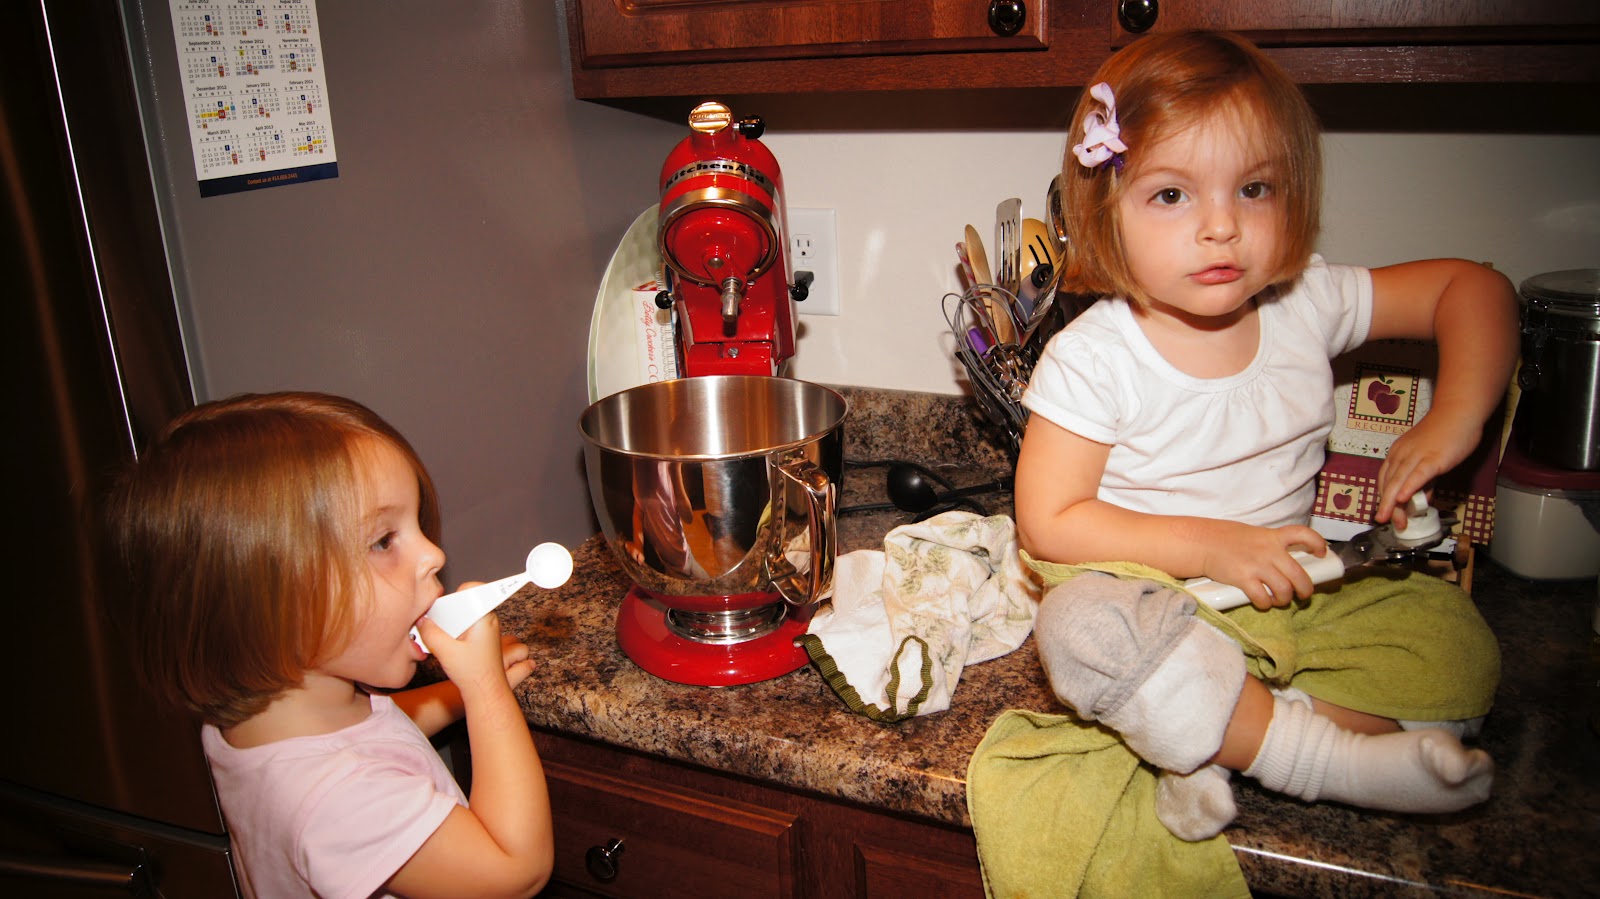


2) Beat everything together until smooth.
Add 1 3/4 cups + 2 tablespoons of  All-Purpose Flour, stirring just until smooth.


3) Lightly grease two standard doughnut pans. If you don’t have doughnut pans, you can bake these in a couple of standard muffin tins; they just won’t be doughnuts.

4) Fill the wells of the doughnut pans about 3/4 full, using a scant 1/4 cup of batter in each well; a tablespoon cookie scoop helps with this task. If you’re making muffins, fill each well about 3/4 full; the recipe makes about 15, so you’ll need to bake in two batches (unless you have two muffin pans).


5) Bake the doughnuts for 15 to 18 minutes, or until a cake tester inserted into the center of one comes out clean. If you’re using self-rising flour, bake for the longer amount of time. If you’re making muffins, they’ll need to bake for 23 to 25 minutes.
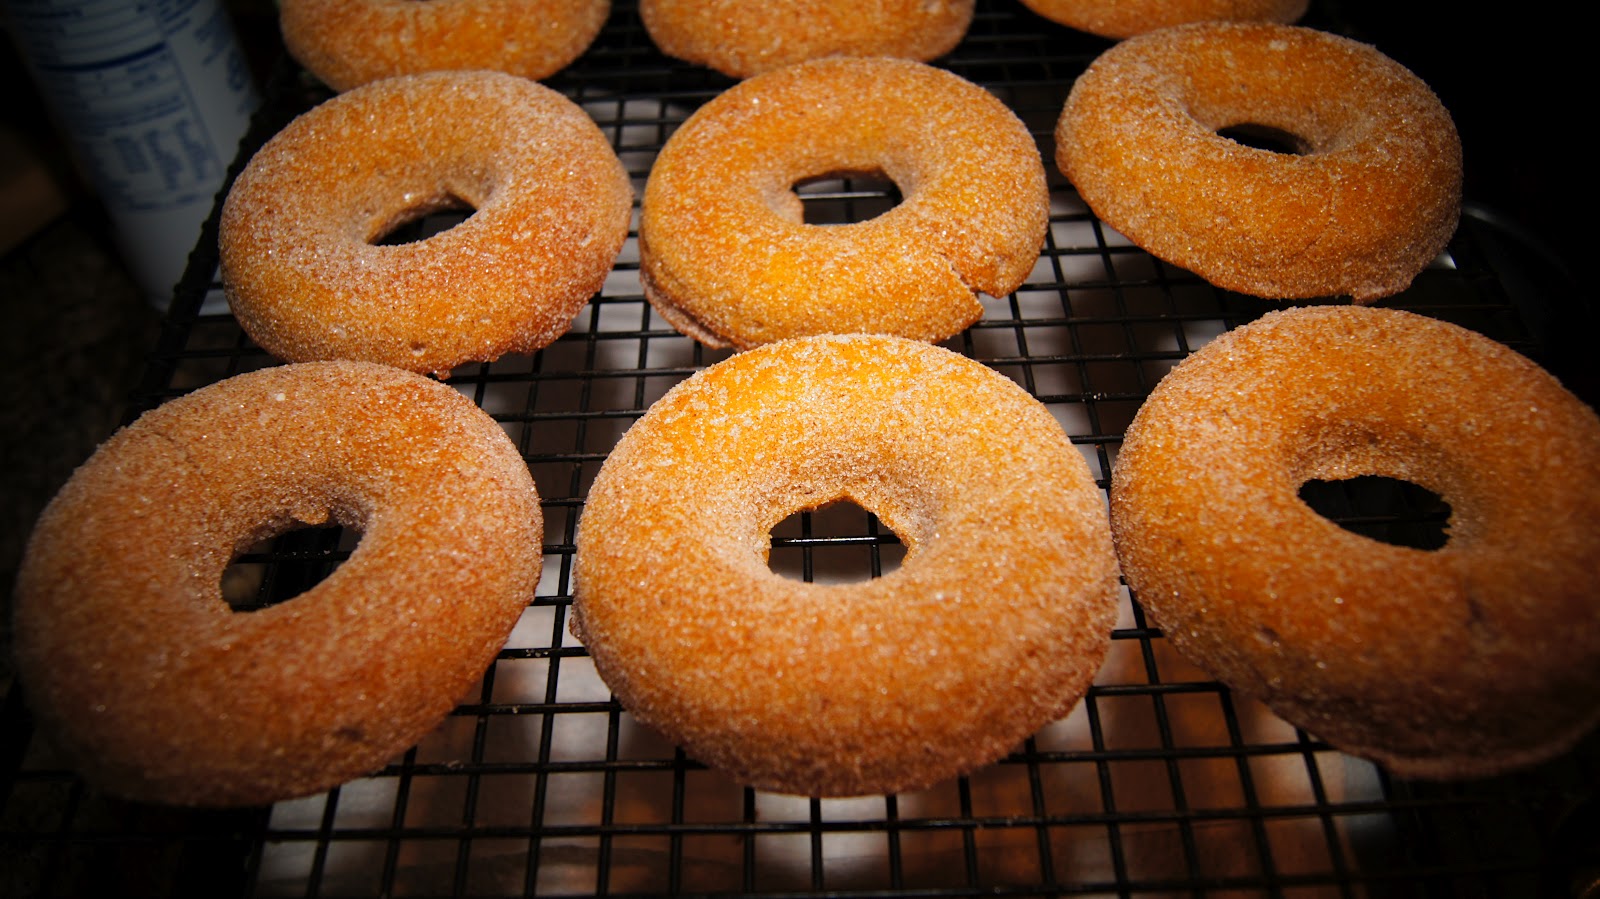
6) Remove the doughnuts from the oven, and after about 5 minutes, loosen their edges, and transfer them to a rack to cool.
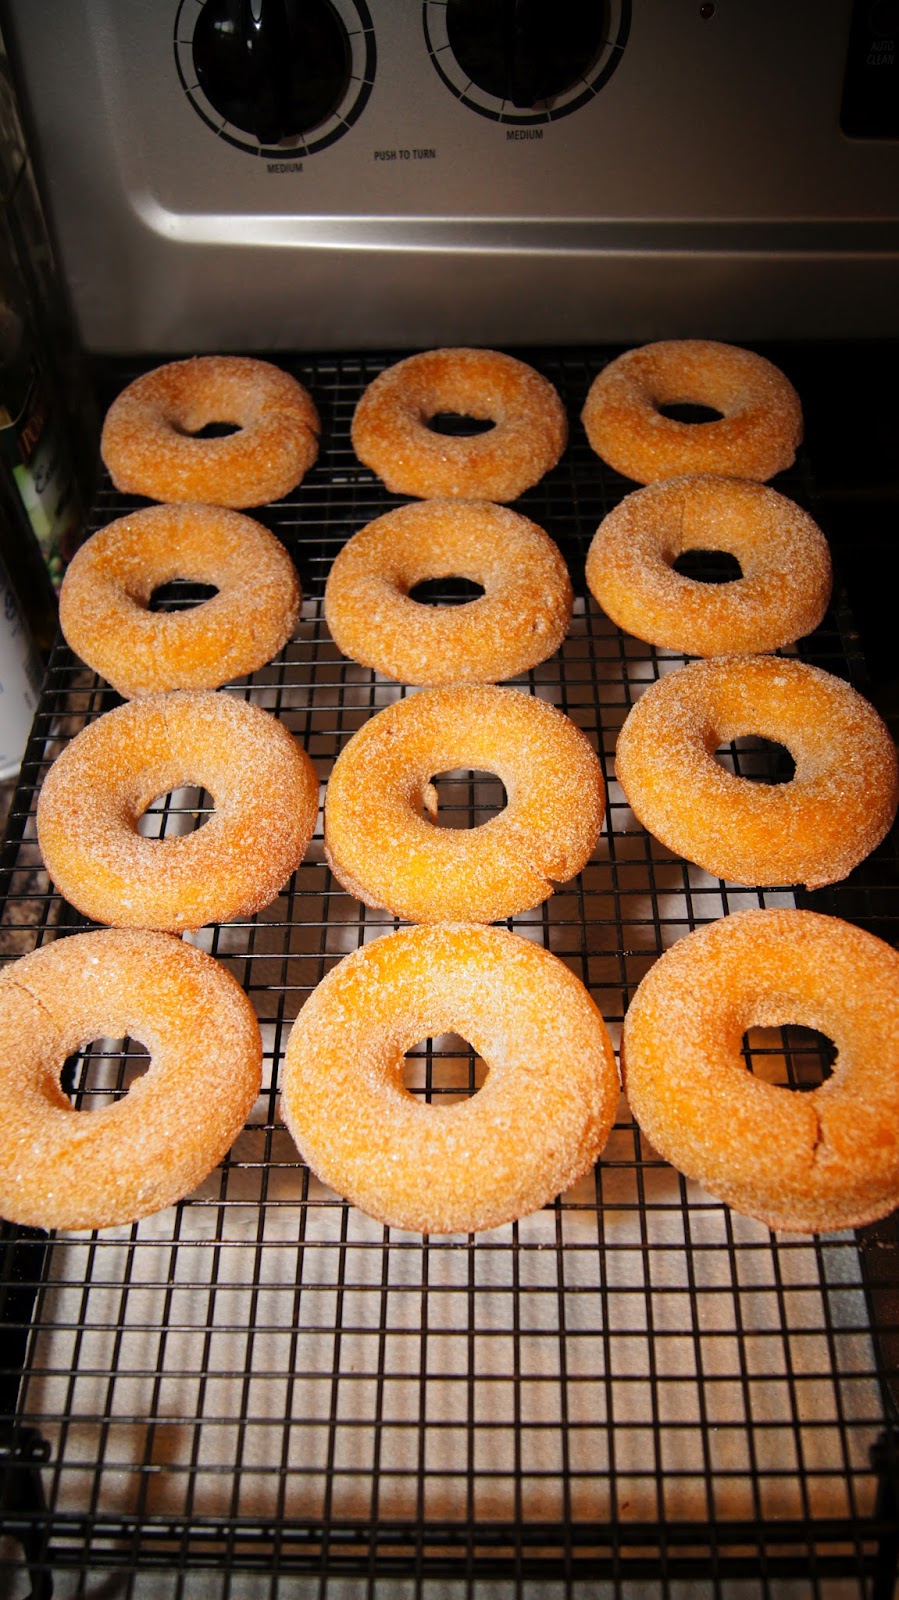
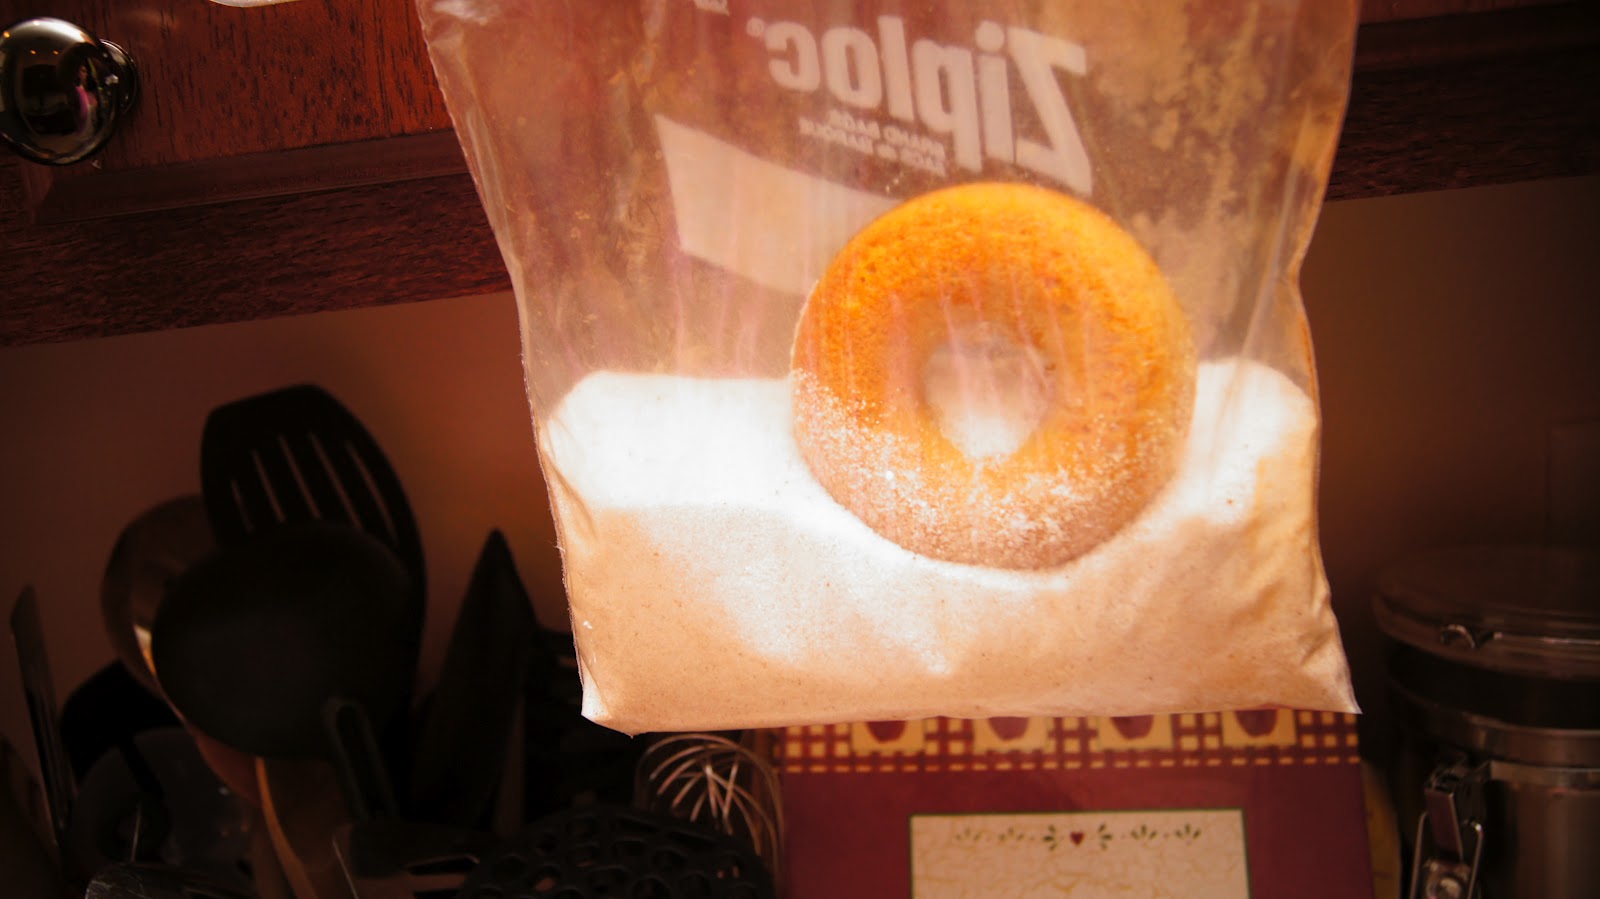


7) While the doughnuts are still warm (but no longer fragile), gently shake them in a bag with cinnamon-sugar. Or better yet, pumpkin-spice sugar, made by combining the aforementioned pumpkin pie spice (or substitute) with granulated or extra-fine sugar. If you’ve made muffins, sprinkle their tops heavily with the spiced sugar of your choice.


Monday, September 17, 2012

Vegan Magic Bars

I was looking for a good desert that would satisfy my sweet craving for this weekend. I didn't want the typical brownie, or cookie but landed on a recipe for magic bars. Now looking at the recipe there would be no way my stomach could handle the amazing amount of dairy in those things.  So without delay I googled vegan magic bars. Lots of recipes came up but I found one that looked really appetizing. It is from theveganversion.com. A really great site I might add. I am not going vegan but I find myself enjoying how the food makes me feel afterwards, thus my pull to eat more of it. So without much ado here is the recipe. Enjoy the sweetness.

Magic Cookie Bars

1 14 oz can coconut milk
2/3 cup light brown sugar
2 cups graham cracker crumbs (read the label- not all graham crackers are vegan)
2 tbsp organic sugar
1/2 cup melted Earth Balance Vegan Butter
1 1/2 cups vegan chocolate chips (I used Ghiradelli semi sweet)
2 cups sweetened flaked coconut ( I don't like the flakes so I omitted them.)
1 cup walnuts, chopped

Preheat the oven to 350 degrees.

On the stovetop in a pan bring the coconut milk and brown sugar to a boil over medium high heat.  Reduce the heat to low and simmer for 30 minutes, stirring occasionally.  Remove from heat and set aside.

Mix the graham cracker crumbs, sugar and melted Earth Balance until the Earth balance is well incorporated. 

On a parchment lined 9x13 pan press the graham cracker crumbs into the pan starting in the center and working your way out to the sides.  Be sure to cover the entire bottom and press very firmly.

Pour the coconut milk mixture over the graham cracker, add a layer of chocolate chips, coconut and then nuts.  Press ingredients down with your hands ensuring the coconut milk mixture is absorbed into the upper layers.

Bake in a 350 degree oven for 30 minutes until golden brown and bubbly.  Remove from the oven and place on a cooling rack for 15 minutes.  Transfer to the refrigerator and allow to cool for at least four hours, preferably overnight.  Cut into bars, remove from the pan and enjoy.


Vegan Quinoa Chili

I have always enjoyed my mom's chili and have never tried anything different. However, it would not be right if I didn't try something new. I recently bought some Quinoa, and to be honest, I have never cooked with it before. I knew it to be healthy but I thought it would be more of a hassle in my busy life. Boy was I wrong. I found a recipe for Vegan Quinoa Chili from savvyvegetarian.com. I do have to admit, it is a little more involved with lots of ingredients, but once I had everything prepared I just left it cook in the slow cooker. It was a real hit among my girls.

Ingredients:

  • 1 1/2 cups uncooked quinoa
  • 3 cups water or bean cooking liquid
  • 1 1/2 cup cooked kidney beans (1 can, drained and rinsed)
  • 1 1/2 cup cooked black beans (1 can, drained and rinsed)
  • 1 cup unsalted tomato sauce OR: 1/4 cup unsalted tomato paste + 3/4 cup water
  • 1 Tbsp olive oil
  • 1/4 cup chopped onion
  • 1 celery stalk, diced
  • 1 Tbsp (2 - 3 cloves) minced garlic
  • 2 Tbsp minced jalapeño pepper
  • 1/2 green bell pepper, diced
  • 1/2 red bell pepper, diced
  • 1 tsp cumin powder
  • 2 tsp gr coriander
  • 1 tsp paprika
  • 1 tsp dried basil leaf
  • 1/2 tsp dried thyme leaf
  • 1/2 tsp dried marjoram leaf
  • 1/8 - 1/4 tsp chipotle pepper powder
  • 1 bay leaf
  • 1 Tbsp light molasses
  • 1 Tbsp Braggs Liquid Aminos, or soy sauce
  • 1/4 cup chopped cilantro
  • Fresh ground black pepper to taste
  • More Heat: Add more chile powder

Method:

Stovetop Directions:
  1. Soak the quinoa 5 minutes
  2. Rinse, then drain into a colander
  3. If using canned beans, drain into a colander and rinse well
  4. Peel & mince the garlic and jalapeño pepper
  5. Dice the onion
  6. Wash and trim the celery, slice lengthwise, then crosswise to dice
  7. Seed and dice the red and green pepper
  8. Heat the oil on medium-high in a dutch oven or large sauce pan
  9. Fry the garlic, jalapeno, onion and celery until soft (about 5 minutes)
  10. Add the peppers and fry 5 minutes
  11. Add the spices and herbs, stir 2 minutes
  12. Add the beans, water or bean liquid, molasses, tomato sauce, and quinoa
  13. Bring to boil, cover, and simmer 20 minutes or until quinoa is cooked
  14. Stir in Braggs or soy sauce, and pepper. Adjust seasonings
  15. Serve garnished with cilantro
  16. Optional: Add a dollop of dairy or non-dairy sour cream to each bowl

Crockpot Directions: ( I did this one)

  1. Sauté jalapeno, garlic, celery, and peppers in oil for 5 minutes on med-high

2. Add spices and herbs, stir 2 minutes


3. Combine with water, tomato sauce, salt, quinoa and beans in a 6 qt crockpot


4. Cover and cook on low for 5 - 6 hour.


5. Add Braggs or soy sauce, molasses, pepper


6. Serve garnished with chopped clilantro and sour cream (optional)

Tuesday, September 4, 2012

Chewy Oatmeal Cookies

One day I was in the mood for some oatmeal cookies. With the fall season coming in, there is something about oats that remind me the cooler season. Kind of funny I know. So I was searching though an old recipe holder and found this one. I believe it is from an old Crisco can, I'm not sure though. They turned out perfectly chewy. Hope you enjoy.

Ingredients:


3/4 c. Crisco or All-Vegetable Shortening
1 1/4 c. Firmly packed brown sugar
1/3 c. Milk ( I used soymilk)
1 Egg
1 1/2 tsp. Vanilla
3 c. Quick oats
1 c. All purpose flour
1/2 tsp Baking soda
1/2 tsp. Salt
1/4 tsp. Cinnamon
1 c. Raisins ( I used dried cranberries)
1 c. chopped Walnuts

Method:

1) Heat oven to 375 degrees and grease baking sheets or line them with parchment paper.

2) Combine Crisco, light brown sugar, egg, milk, and vanilla in a large bowl or stand alone mixer.


3) Combine oats, flour, baking soda, salt, and cinnamon.


4) Slowly combine dry mix with wet at a low speed.

5) Stir in raisins and nuts.


6) Bake one baking sheet at a time at 375 degrees for 10-12 minutes, or until lightly browned.


7) Cool on a cooling rack.

Makes about 2 1/2 dz.


Canning Tomatoes

It has been requested from a couple people that I put up my canning method for tomatoes. I love doing tomatoes for my chili I make every fall, and I usually make a lot. Canning is a long process, but when it is complete you have a wonderfully preserved fresh tomatoes for future use.

Items needed:
Canning pot with rack.
2 Large pots
Citric acid or lemon juice
Tomatoes
Slotted spoon
Knife
Trash bowl
Canning jars ( I used quart jars)
Lids and rims

Method:


1) Examine canning jars for nicks, cracks, uneven rims or sharp edges that could prevent sealing or cause breakage.

2) Wash jars and two piece caps in hot soapy water. Rinse well. Heat lids in a saucepot of simmering water. Don't boil the lids. I washed my jars in the dishwasher and allowed the heating cycle to warm them up.

3) Fill canning pot with a little over half full of water. Elevate rack in canner and put the lid on. Make sure the water is simmering (180 degrees)

4) Select fresh tomatoes and place them in another pot of boiling water for 30-60 seconds to blanch. Remove them and place them in a sink full of cold water to stop the cooking process.


5) With each tomato slip the skins off and trim any green areas off and stems. With my first batch I cut my tomatoes into quarters.

Olivia peeling the skins off the tomatoes.


6) Place into an empty pot and boil gently for 5 minutes. (My first batch I used the tomato juice that came out of the tomatoes as I cut them. My second batch I kept the tomatoes whole and placed enough water to cover them and boiled for 5 minutes.)


7) Remove the canning jars from dishwasher or hot water. Set them on a towel. Add 2 Tbs of bottled lemon juice or 1/2 tsp. of citric acid to each jar.  (Half that for pint jars.)

8) Carefully pack tomatoes and cooking liquid into jars leaving 1/2 inch headspace.


9) Run a nonmetallic spatula between the tomatoes to release trapped air bubbles.

10) Wipe rim and threads of jar with a clean, damp cloth. Remove lid from hot water and place it on the jar. Screw the band down evenly and firmly, just until resistance is met.

11) When jars are filled. Place them in the canning rack and lower into canner. The water level must cover the lids and caps of jars. Add boiling water if you need too.


12) Put lid on canner and process for 45 minutes. 40 minutes for pint jars.

13) When it is done processing take jars out of canner and set them on a towel 1-2 inches apart and let cool for 12-24 hours.


14) After they have cooled check the lids to make sure they have sealed. Label and store your tomatoes in a cool dark place.